Sidebar
Create and Send Scheduled Newsletter
Verify below list before you start to setup your Scheduled Newsletter;
»Valid License
»Working Cron Task
»Proper sending frequency setup
You need to create a List first before you can create your Newsletter.
Step—1 Setup your first Newsletter
In the Admin panel, Components >> jNews >> Newsletters
Click on the button New to create a new Newsletter
The default template is automatically loaded—you can create your personal customize template or change the default one in the template section.
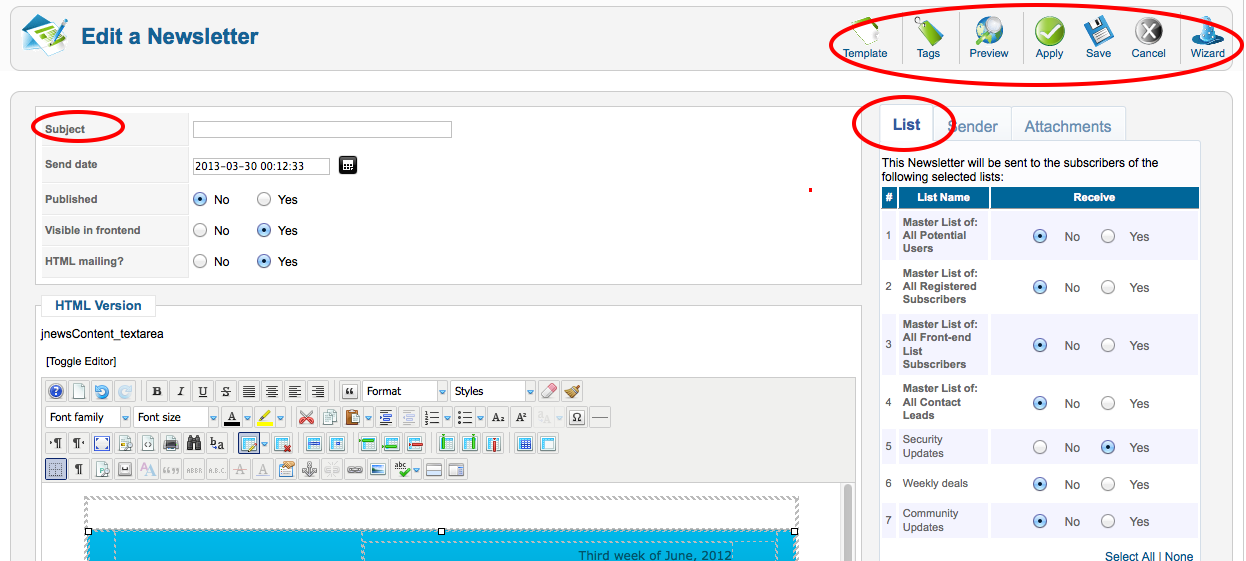
Ste-2 Select your template
Click on the Template button and select any other template available by default. It has 6 default templates you can use for free.
Write a subject and the content of your e-mail the way you want. You can insert pictures, text, links and so on..
Step—3 Add tags to your Newsletter
In the Newsletter edit page, click on the TAG button.
Tag is used to insert information like subscriber information, Joomla and K2 articles, modules, JomSocial data and social tags to promote your newsletter to a bigger audience like Facebook, Twitter and LinkedIn.
Step—4 Assign your Newsletter to a List.
You can assign a newsletter to several List without having to worry sending duplicates of emails to your subscribers.
Step—5 Test your Newsletter
Before sendig your newsletter to your subscribers it is advisable to send a test copy to your test email using different email clients to make sure everything is working properly. Use the 'Preview' button to test your newsletter.
Step—5 Set a Send Date
In the newsletter edit page, specify a future time/time that is ahead of your local time for the send date.
For instance, you can set to send your newsletter 15 minutes of your local time. This means that if you set your cron task to trigger every 15 minutes, your newsletter will send after 15 minutes from the time to set it up and save.
Check this article to learn more how to Setup your sending process.
Once saved, your newsletter will appear in yellow icon like below sample;
![]()