Sidebar
Email and Notification Templates
This article explains how to edit and add email notifications for your online store.
jMarket uses email to send out messages to both store admin, vendors and customers for your store. You have the ability to customize the layout of most of these messages from the backend.
Editing the email template
- Login to your site admin panel
- Click Components >> jMarket
- Click Tools >> Emails
- You will see a listing of all the HTML emails that control the layout of the emails that are sent from your store.
You can edit any of these emails by clicking the Edit button at the top navigation.
To look for the correct email, use the drop-down filer on the right.
If you are looking for email notifications on Order emails, select Orders and you will see all the various html emails for orders.

Here is a listing of the most commonly edited emails and which email message that they control.
Customer Order confirmed: The email that the customer receives when they successfully place an order on the store. This contains the specific order data.
Admin Order confirmed: The email that is sent out to the admin when a customer has confirmed the order.
Vendor Applicant Notification: The email that the vendor receives when they have successfully applied as a vendor.
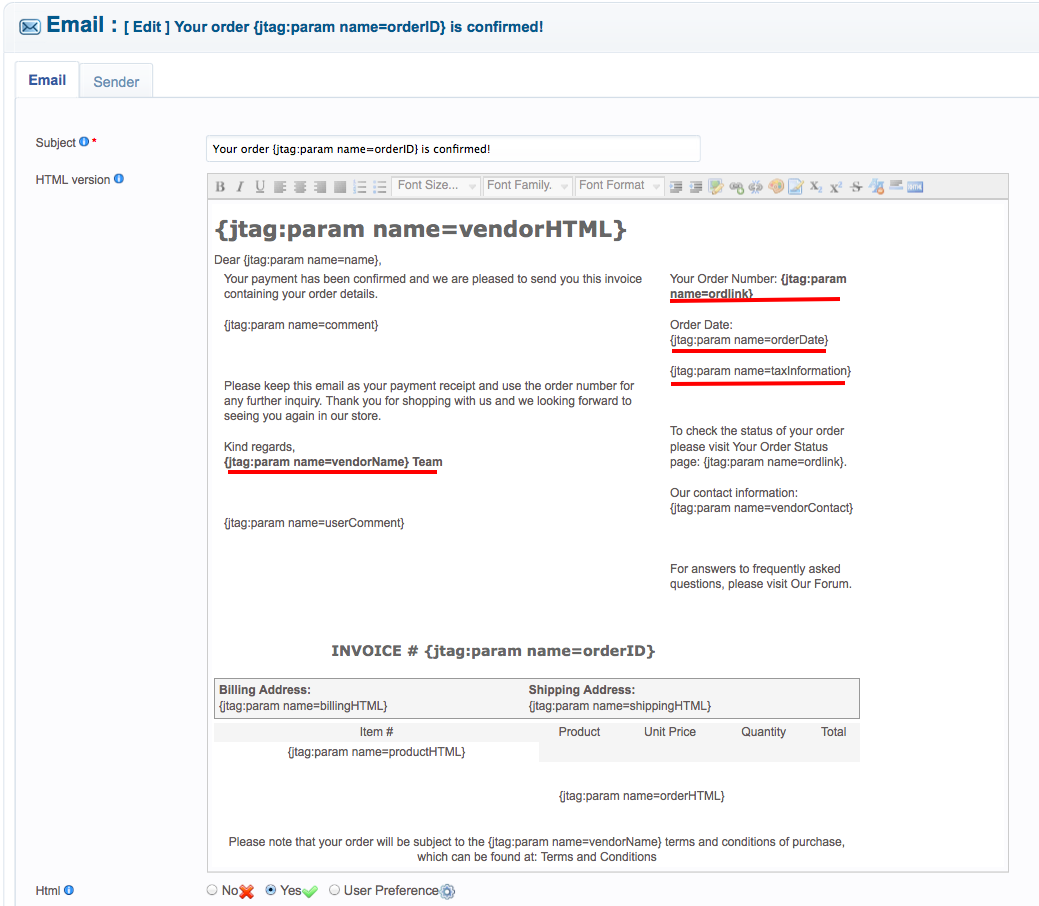
HTML version of email template
Add a logo to your order notification email
By default, the order notification e-mail does not contain your store's logo. However, you can change this through the editor in the edit email page.
- Login to your site admin panel
- Click Components >> jMarket
- Click Tools >> Emails
- Find the Customer Order confirmed email template and click on Edit.
In this example, the logo will be placed at the top of the email message.
To do that, place the mouse cursor in the position where you intend to insert your store logo.
- The next step is to insert the image at the top of the page.
- Click on the Insert / Edit image icon.
![]()
- Click on Browse to locate the image on your local computer then Insert to place it on the page. (You can also choose the image from your gallery, or paste in a link to one instead of uploading it from your computer.)
- The logo will now appear on the template.
- Click [ Save ] to save your changes.
![]()
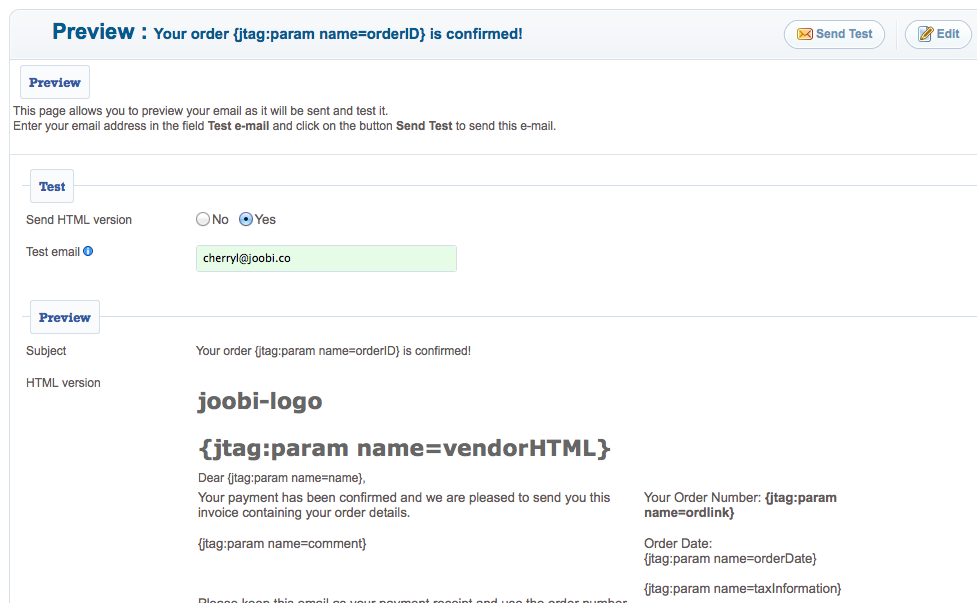
- Click Preview button, enter your email address in the field Test e-mail and click on the button Send Test to send this e-mail.