Sidebar
Create a Newsletter from the front-end
- Login on your front-end using a username which has the creator access.
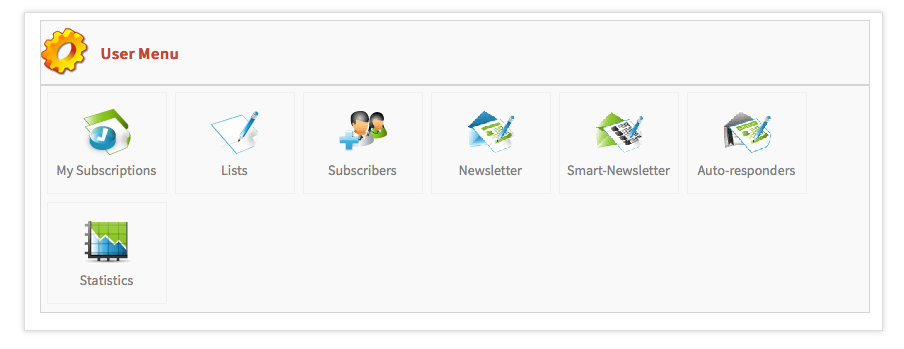
- Locate your created jNews menu if there is any or click the "change" button from the module. You will be redirected to your user menus where you can manage your mailing.
- Click Newsletter icon to create/edit a newsletter.
Step—1 Setup your Newsletter
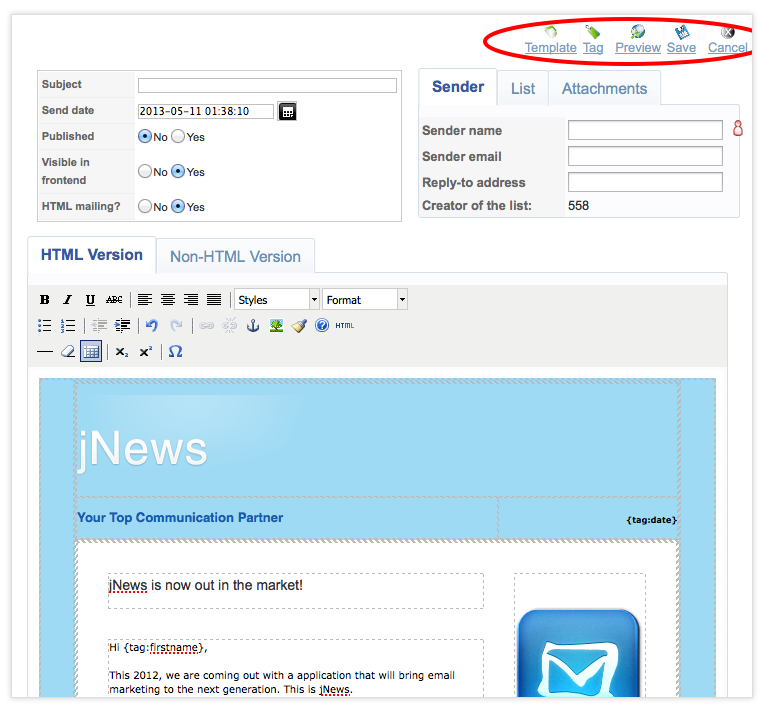
Click on the button New to create a new Newsletter
The default template is automatically loaded—you can change the default one by clicking the template button on the right of the page.
Step—2 Add tags to your Newsletter
In the Newsletter edit page, click on the TAG button.
Tag is used to insert information like subscriber information, Joomla and K2 articles, modules, JomSocial data and social tags to promote your newsletter to a bigger audience like Facebook, Twitter and LinkedIn.
Step—3 Assign your Newsletter to a List.
You can assign a newsletter to several List without having to worry sending duplicates of emails to your subscribers.
Step—4 Test your Newsletter
Before sending your newsletter to your subscribers it is advisable to send a test copy to your test email using different email clients to make sure everything is working properly. Use the 'Preview' button to test your newsletter.
Step—5 Finalize your sending process
There are two ways to send your Newsletter.